How to Save Overwatered Bougainvillea: A Complete Rescue Guide
Is your bougainvillea looking wilted and dropping leaves, with no improvement from watering or fertilizing? This is actually a classic sign of overwatering. Remember one principle: as long as the roots aren't completely rotten, your plant can still be saved.
In this guide, I will walk you through, step-by-step, how to save overwatered bougainvillea and pull it back from the brink.
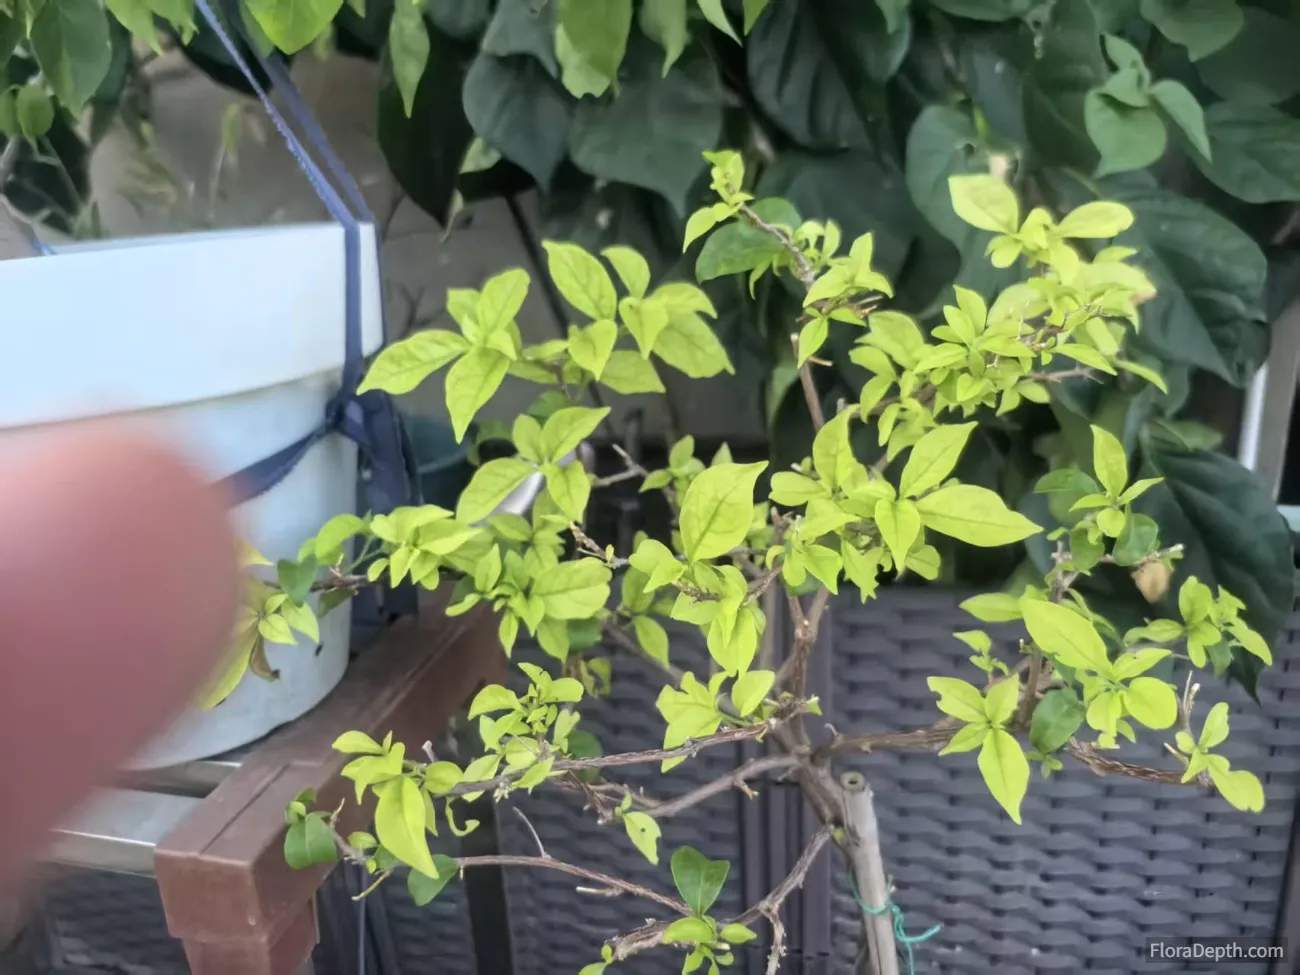
Table of Contents
First, Determine if it's Overwatering or Drought
The external symptoms of overwatering and drought in bougainvillea can be very similar. Both can cause significant leaf drop and wilting new shoots. So how do you tell them apart? It's very simple, with two quick methods for a direct diagnosis.
1. Check the Potting Mix
If the potting mix is constantly wet, you've been watering frequently, or it's been a stretch of rainy days, you can almost certainly conclude there's too much water and the mix is waterlogged. If you're unsure, you can also pick up the pot to feel its weight.
2. The Watering Test
If checking the mix and weighing the pot don't give you a clear answer, try watering it thoroughly. Then, observe the plant's condition. If the wilting leaves recover, it was drought. If there's no improvement, it's root suffocation from waterlogging.
Misdiagnosis is most common during stretches of overcast, rainy weather. For potted bougainvillea grown outdoors, light rain can make the surface of the potting mix feel moist while the inside remains dry. This can easily lead to a wrong judgment. When in doubt, just water it thoroughly and observe the plant's response.
Will watering again make root suffocation worse?
My practical experience tells me that too much water doesn't directly cause root suffocation. Suffocation happens when waterlogging in the potting mix creates harmful bacteria and a lack of oxygen, which is what stresses the plant.
When the mix is waterlogged, flushing it with a large amount of clean water can refresh the soil environment and is actually beneficial for root respiration. It's the same principle as when we use too much fertilizer; we flush the pot with plenty of water to dilute the concentration.
How to Save Overwatered Potted Bougainvillea: Step-by-Step Rescue
Here, we need to take appropriate measures based on the severity of the root suffocation. Over-treating the plant can cause even more harm.
The following methods cover how to save overwatered bougainvillea at every stage of root damage—from mild stress to severe rot.
1. Mild Root Suffocation
A bougainvillea with mild root suffocation will mostly just show a wet potting mix, but its leaves or new shoots will appear soft and droopy. This indicates the roots aren't breathing well. Taking timely action will often have little lasting impact.
Rescue measures:
- Flush with plenty of clean water: Use a large amount of clean water to flush the roots, washing away the stagnant water and refreshing the soil environment. At the same time, check the drainage holes and clear them if they are blocked.
- Improve ventilation: Improving air circulation is essential. It's best to move it outdoors if possible. It's also a good idea to elevate the bottom of the pot to allow for better airflow and faster drainage of excess water.
- Avoid direct sun: Since the roots are already struggling to breathe, their ability to absorb water is weakened. Do not expose the plant to direct sun for now, or the leaves will easily get sunburned, turn yellow, and drop. Place it in a spot with bright, indirect light for 1-2 days before returning it to the sun.
2. Moderate Root Suffocation
If the root suffocation isn't caught in time, the bougainvillea may start to drop a large number of leaves. Note that at this stage, most of the leaves that fall will be green, or there will be a sudden, widespread yellowing and leaf drop, along with withered new shoots.
This means some of the roots have already started to rot. For a bougainvillea with moderate root suffocation, we have two treatment options.
For Small Pots
If the plant is in a relatively small pot, you can simply and gently remove it from the pot and place it in a well-ventilated area with bright, indirect light to let the root ball dry out as quickly as possible.
Be careful not to break apart the root ball when removing it from the pot. You can support the main stem and the surface of the soil with one hand, invert the pot, and gently tap the bottom to slide the plant out. If it's difficult to remove, you can dig out some of the topsoil to expose the upper roots, and then elevate the pot to increase airflow.
For Large Pots
For a bougainvillea in a large pot, it's recommended to repot it. Please refer to the repotting instructions for severe root suffocation below for the specific steps.
3. Severe Root Suffocation
A bougainvillea with severe root suffocation will often be in very poor condition, possibly just a bare stem with some withered branches. At this point, we need to move it to a smaller pot to regrow its roots. As long as the roots aren't completely rotten, it can still be saved.
Rescue method:
1. Unpot and Treat Rotten Roots
Gently remove the bougainvillea from its pot and inspect the root ball. Do not pull or yank it; try to protect the healthy roots as much as possible.
After unpotting, you will see black, rotten roots. You don't need to pick at them individually. Instead, gently remove the soil from the outside of the root ball until you expose healthy roots.
If the root rot is very severe, when removing the soil, try to keep a root ball about the size of your fist intact around the main stem—this is often called the "heart-protecting soil." Then, cut off all the exposed black, rotten roots.
2. Soak in Fungicide and Rooting Hormone
If you have fungicide and rooting hormone, you can dilute them according to the instructions and soak the roots for 20 minutes before replanting. Note that the rooting hormone should not contain fertilizer; a pure rooting hormone is sufficient.
3. Repot in a Smaller Pot with New Mix
Repot the treated bougainvillea in a smaller pot. How big should the pot be? Just one size larger than the root ball you kept.
How to choose the potting mix? If the root rot isn't too severe, you can use a regular potting mix with some Akadama soil added. If the root rot is very severe, it's best to plant it directly in Akadama soil, which will encourage new roots to grow faster.
4. Bag it for Humidity to Encourage Root Growth
After planting, place it in a well-ventilated spot with bright, indirect light and water it thoroughly to help it recover.
To help the bougainvillea root and sprout faster, you can cover the plant with a plastic bag. However, make sure to leave a hole at the top, and do not cover the pot itself, as this will affect the soil's breathability.
The purpose of the bag is to create a warm, humid environment, which helps the bougainvillea root and sprout new growth more quickly.
Note: During the recovery period, do not let it get rained on.
What to Do for an In-Ground Bougainvillea with Root Suffocation?
For in-ground bougainvillea, root suffocation is caused by waterlogged soil. Digging it up blindly can cause serious problems. You can try these few first-aid steps in place:
- Remove root mulch: Immediately pull away heavy mulch, bark, or gravel from around the base of the plant. These materials trap moisture in the soil and prevent it from evaporating.
- Manually dig a drainage trench: About 11.8 inches to 19.7 inches away from the main trunk, dig a circular drainage trench about 5.9 inches to 7.9 inches deep to divert the standing water away.
- Aerate the soil: Use a wooden stick to poke several deep holes in the soil around the root zone. This increases air circulation in the soil and speeds up evaporation.
- Provide temporary rain shelter: If you're facing continuous rain, cover the area around the roots with a plastic sheet to keep it dry, and remove it once the weather clears up.
After the first aid, the rest is up to time. However, follow-up care is just as crucial for its survival.
After first aid, the plant needs a process of self-repair. Don't meddle with it during this time; just pay attention to these two points:
- Environmental needs: For the first 3-5 days after treatment, keep the potted plant in a well-ventilated, semi-shaded spot to let it recover. After 5 days, return it to at least 6 hours of direct sunlight per day. Ample sunlight is key to promoting evaporation and stimulating new growth.
- Precise re-watering: You must wait until the soil is completely dry before watering again. Stick your finger about 1.18 inches to 1.97 inches into the soil; if it feels completely dry, then water it lightly.
You can refer to this recovery timeline:
- Weeks 1-2 (Damage Control Phase): Leaf drop stops, and the branches stop getting softer and turning black.
- Weeks 3-4 (Sprouting Phase): Small green buds begin to appear at the nodes on the branches.
- 1-2 Months (Consolidation Phase): New leaves slowly unfurl, and the root system begins to regrow.
During this recovery process, there are some common pitfalls you must avoid.
Many bougainvilleas don't survive not because of the initial overwatering, but because their owners make these fatal mistakes during the rescue attempt:
- Mistake 1: Assuming leaf drop means it's thirsty. Panicking at the sight of falling leaves and assuming the plant is dry, then watering it again, is the fastest way to kill it. Always wait until the soil is relatively dry before watering.
- Mistake 2: Rushing to give it a "big dose" of fertilizer. A plant that has just been repotted or has damaged roots will be severely stressed by strong fertilizer, which will burn and kill the remaining roots. Wait until new leaves have fully grown in before considering a light application of fertilizer.
- Mistake 3: Forcibly washing or breaking up the root ball when repotting. Bougainvilleas intensely dislike having their roots severely disturbed. Besides trimming away moldy, black, rotten roots, try to keep the healthy root ball and its original soil intact. Otherwise, the plant can easily go into shock and die.
- Mistake 4: Ignoring the effect of concrete foundations. If an in-ground bougainvillea is planted too close to a concrete foundation, the alkaline substances leaching from it, combined with standing water, can quickly destroy the roots' ability to absorb nutrients. When planting in the ground, remember to keep it at least 11.81 inches away from any wall.
As long as you act promptly on the advice above and give it enough sun and time, you'll see just how resilient bougainvillea can be when you know how to save overwatered bougainvillea the right way. It will soon be covered in green leaves again!

Lanyao
A home flower grower with hands-on experience since 2014. FloraDepth currently focuses on practical bougainvillea care and container gardening, with more flower-growing guides to come.
More about Lanyao →Latest Garden Notes
) The temperature suddenly shot up these past couple of days, and all the osmanthus trees by my front door have…
The temperature suddenly shot up these past couple of days, and all the osmanthus trees by my front door have… Ever since I started growing bougainvillea, I've found it really low-maintenance. I barely have to do anything…
 I used to be really into growing roses. I’ve collected quite a few varieties over time, and while they’re gorg…
Related Articles
How to Make Bougainvillea Bloom: The Ultimate Guide
Learn how to make bougainvillea bloom with our complete care guide. Discover the exact sun, watering, fertilizer, and pruning secrets for non-stop flowers.

best fertilizer for bougainvillea before winter
Wondering what the best fertilizer for bougainvillea before winter is? Learn the right phosphorus and potassium rates, cold-protection boosters, and 4 pitfalls to avoid.

Bougainvillea Growing Too Fast But Not Blooming
Is your bougainvillea growing too fast but not blooming? Learn the 3 root causes of excessive vegetative growth and how to switch your plant to bloom mode with simple steps.

Bougainvillea in Pots: How to Protect It Through Winter
Learn the critical temperature thresholds for overwintering bougainvillea in pots—10°C to bring it indoors, 5°C as the final survival line. This full guide covers pre-indoor preparation, watering and fertilizing by plant condition, indoor light and temperature matching, and low-temperature survival plans for homes without heating.
Bougainvillea Losing Flowers? 7 Reasons & How to Save It
Is your bougainvillea losing flowers or dropping buds? Discover 7 common causes—from overwatering to cold stress—and learn how to save your plant today!